Texture in Softground: 2 different approaches
Imprinting texture into a softground is typically achieved by running a relatively flat, textured object through the press on top of a softground-coated plate. A similar but inverse effect can be achieved by running a softground-coated object onto an aquatinted plate. Below I discuss both methods using Blackground as my softground.
The flower on the left that looks whiter was coated with softground and printed onto an aquatinted plate. The flower on the right that looks darker was pressed into a plate that had been coated with softground.

note:
Regardless of which method you choose the first step is to ensure that the object you are printing is as flat as possible. With fresh greenery, I recommend that you trim off any bulbous areas or consider cutting stalked plants in half to flatten out the texture. If you run stuff that’s too thick/wet through, you’ll hardly get any legible texture at all. Instead you’ll get a mess (see illustration). Pressed plants work best, dry plants are a close second.


Method 1: Coated Plate
Begin by coating a plate with softground. Once the plate is cool/dry, place your object on it and run it though the press.
-Very delicate objects like flowers give the most detailed impressions when run through the press under blankets and at a pressure that is slightly lighter (quarter to half turn less) than regular printing pressure. I always run through with extra newsprint on top in case the plant pulverizes into a sticky mess


-Stiffer textures such as textiles and dried plants will sometimes give a better read when run through the press with a sheet of matboard in the same way that relief prints are often printed.


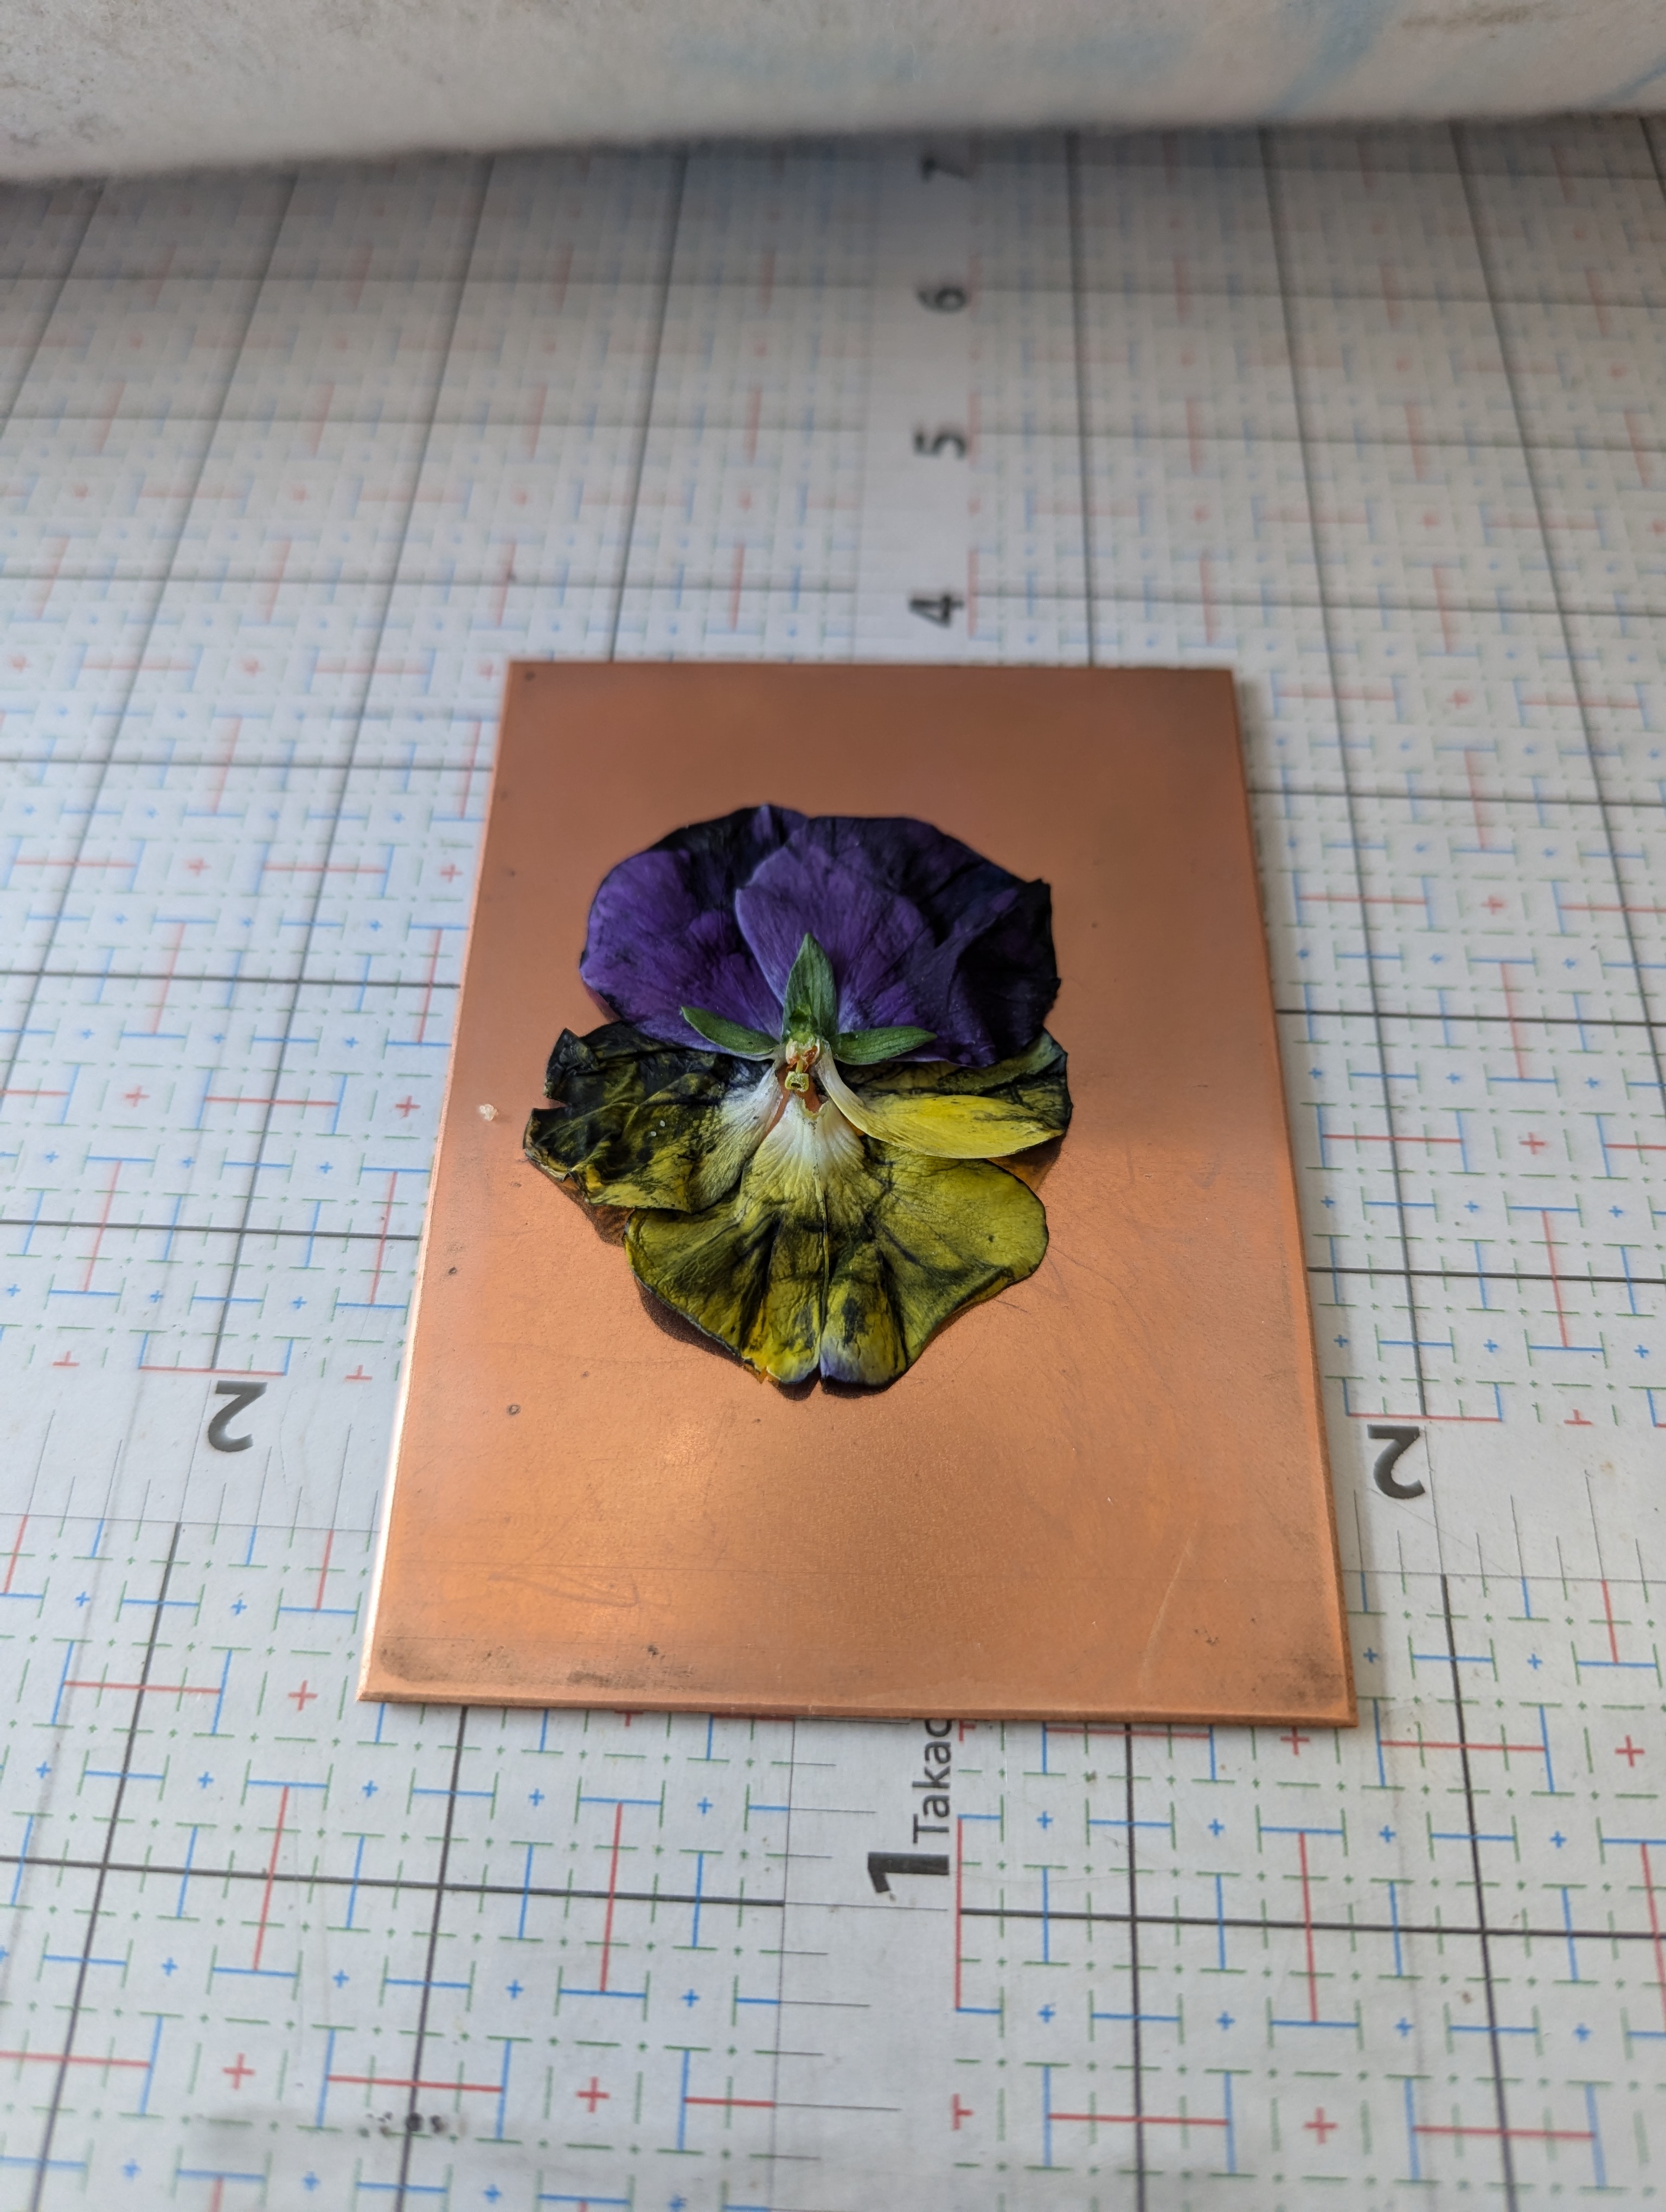
Method 2: Coated Object
Begin by coating your object with softground. Stiffer objects can be inked up with a brayer. I recommend pressing softer objects into melted ground. Shortly after coating, place your object on a rosined (or spray aquatinted) plate and run it though the press.