Your plate is now ready to receive your drawing. You can do this any way you’d like; hardground responds best to being scraped away. Softground is very delicate and can receive any number of treatments.
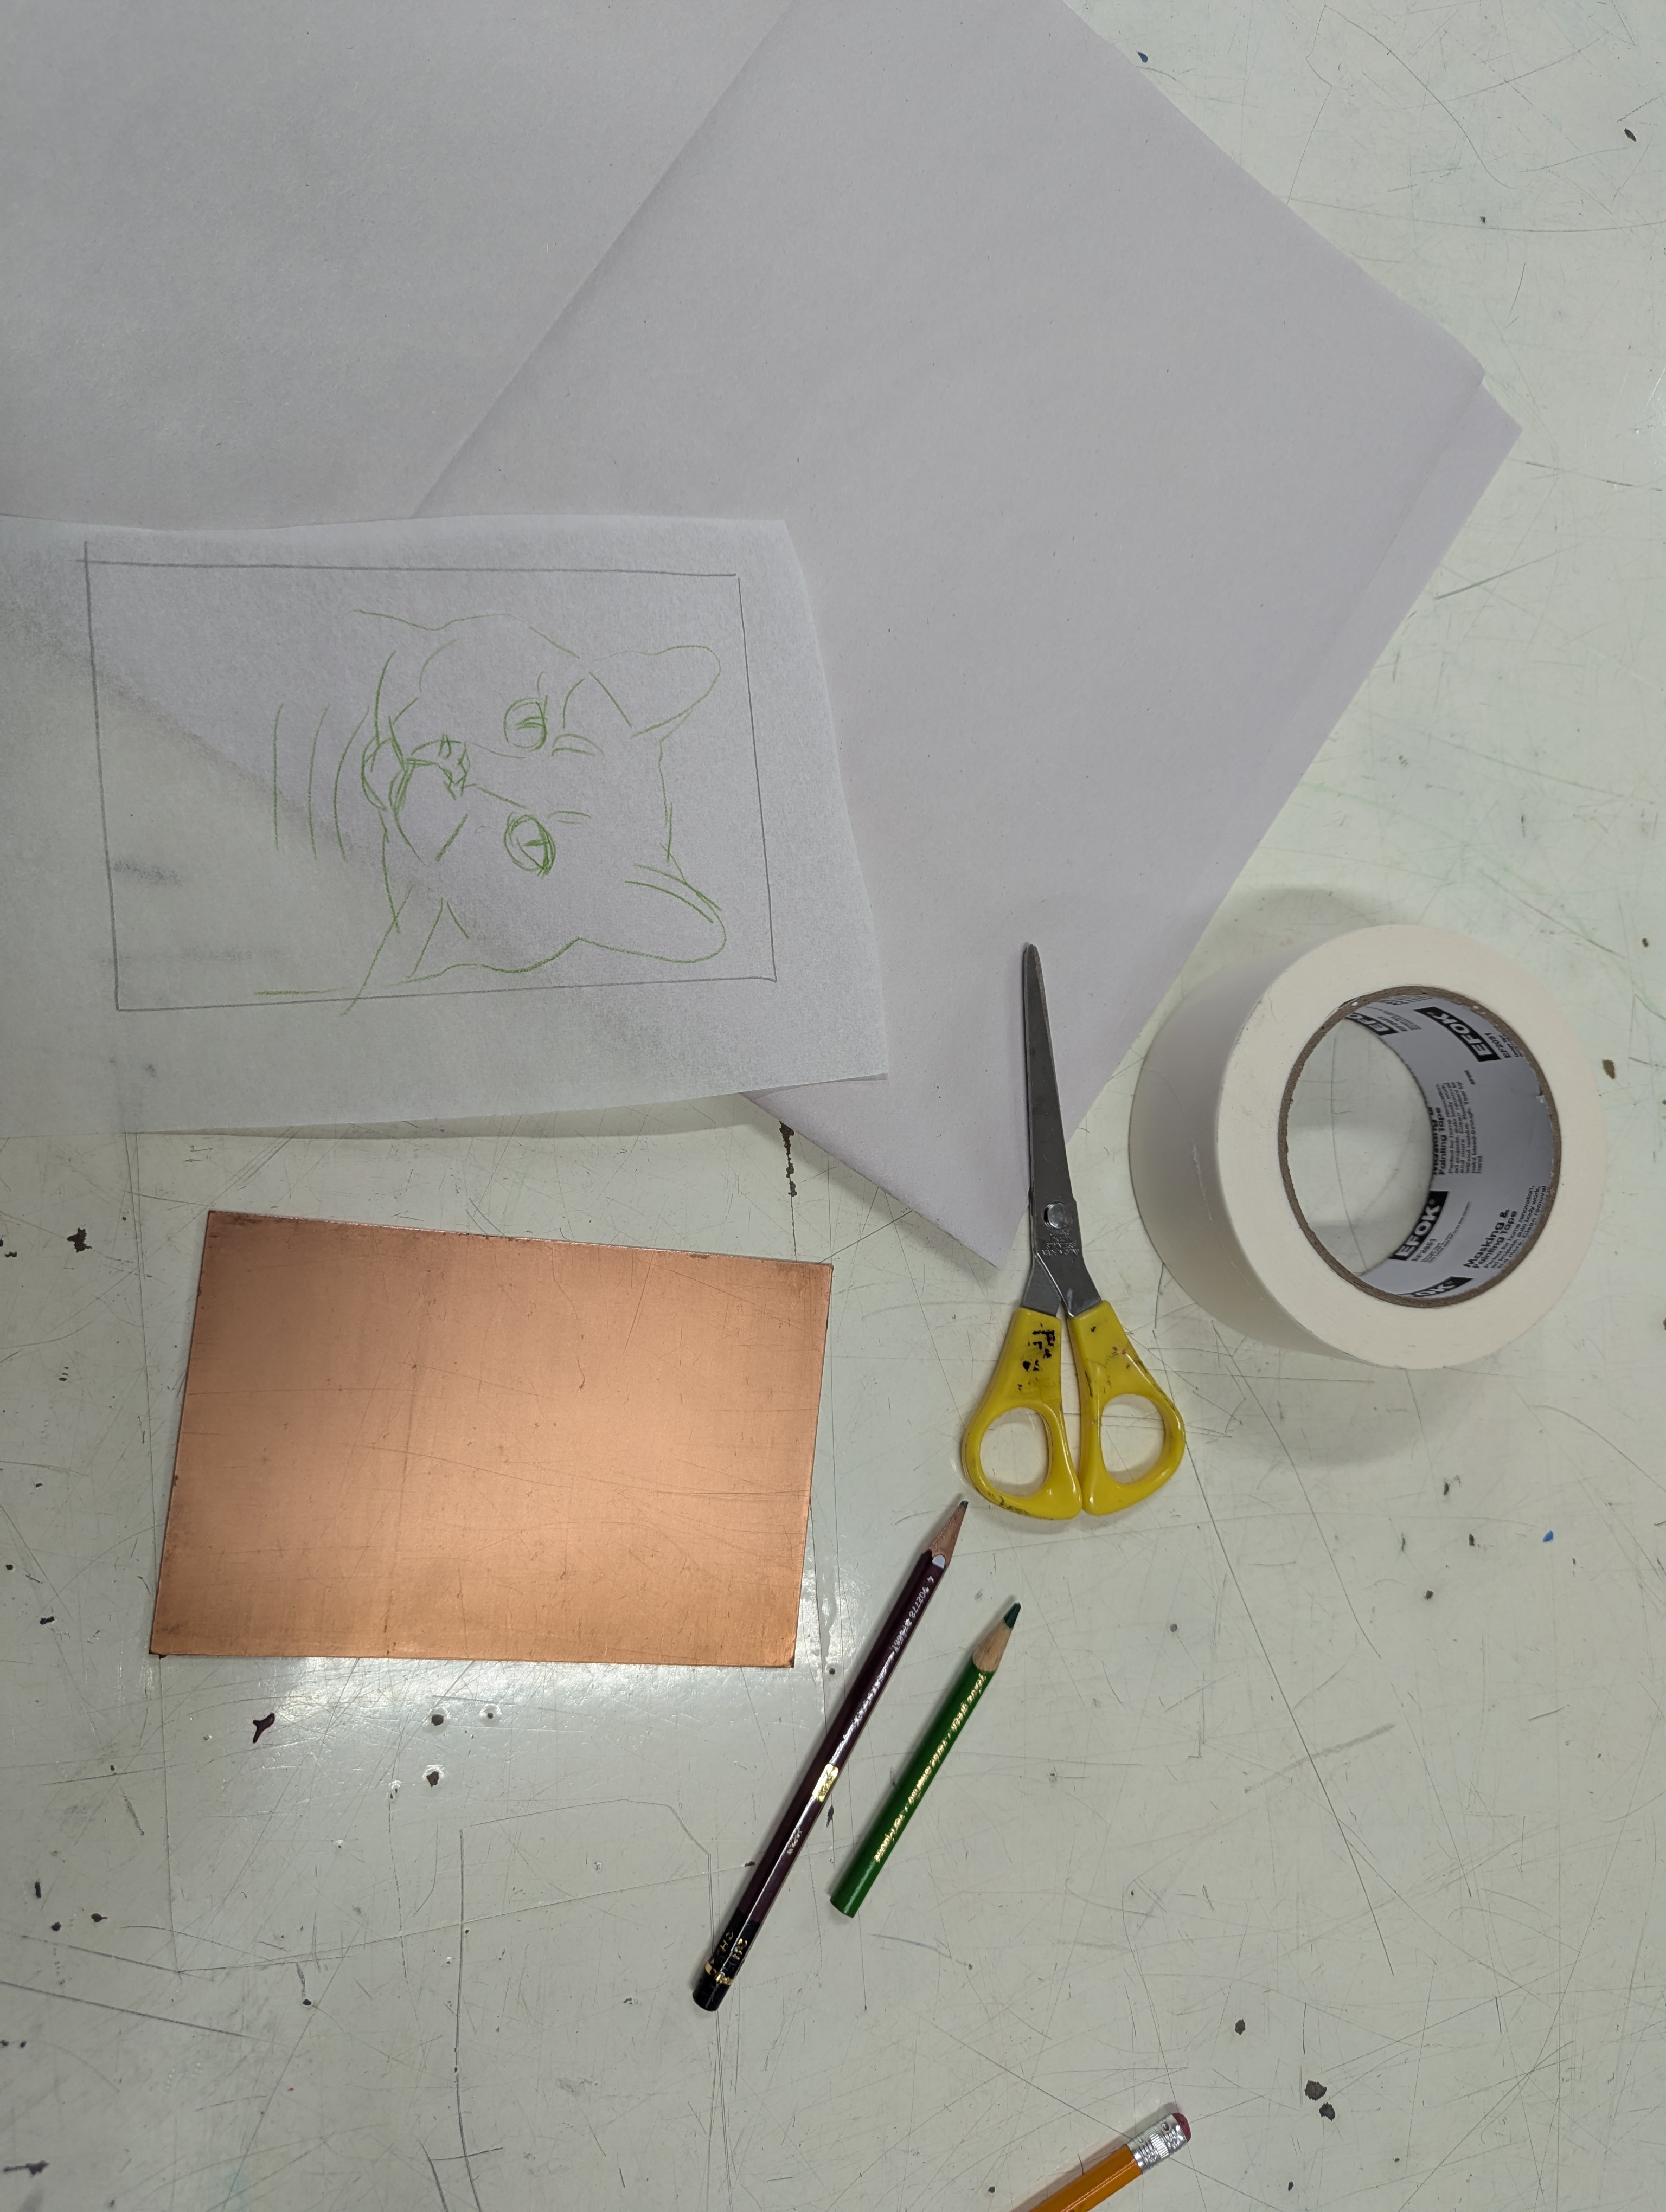
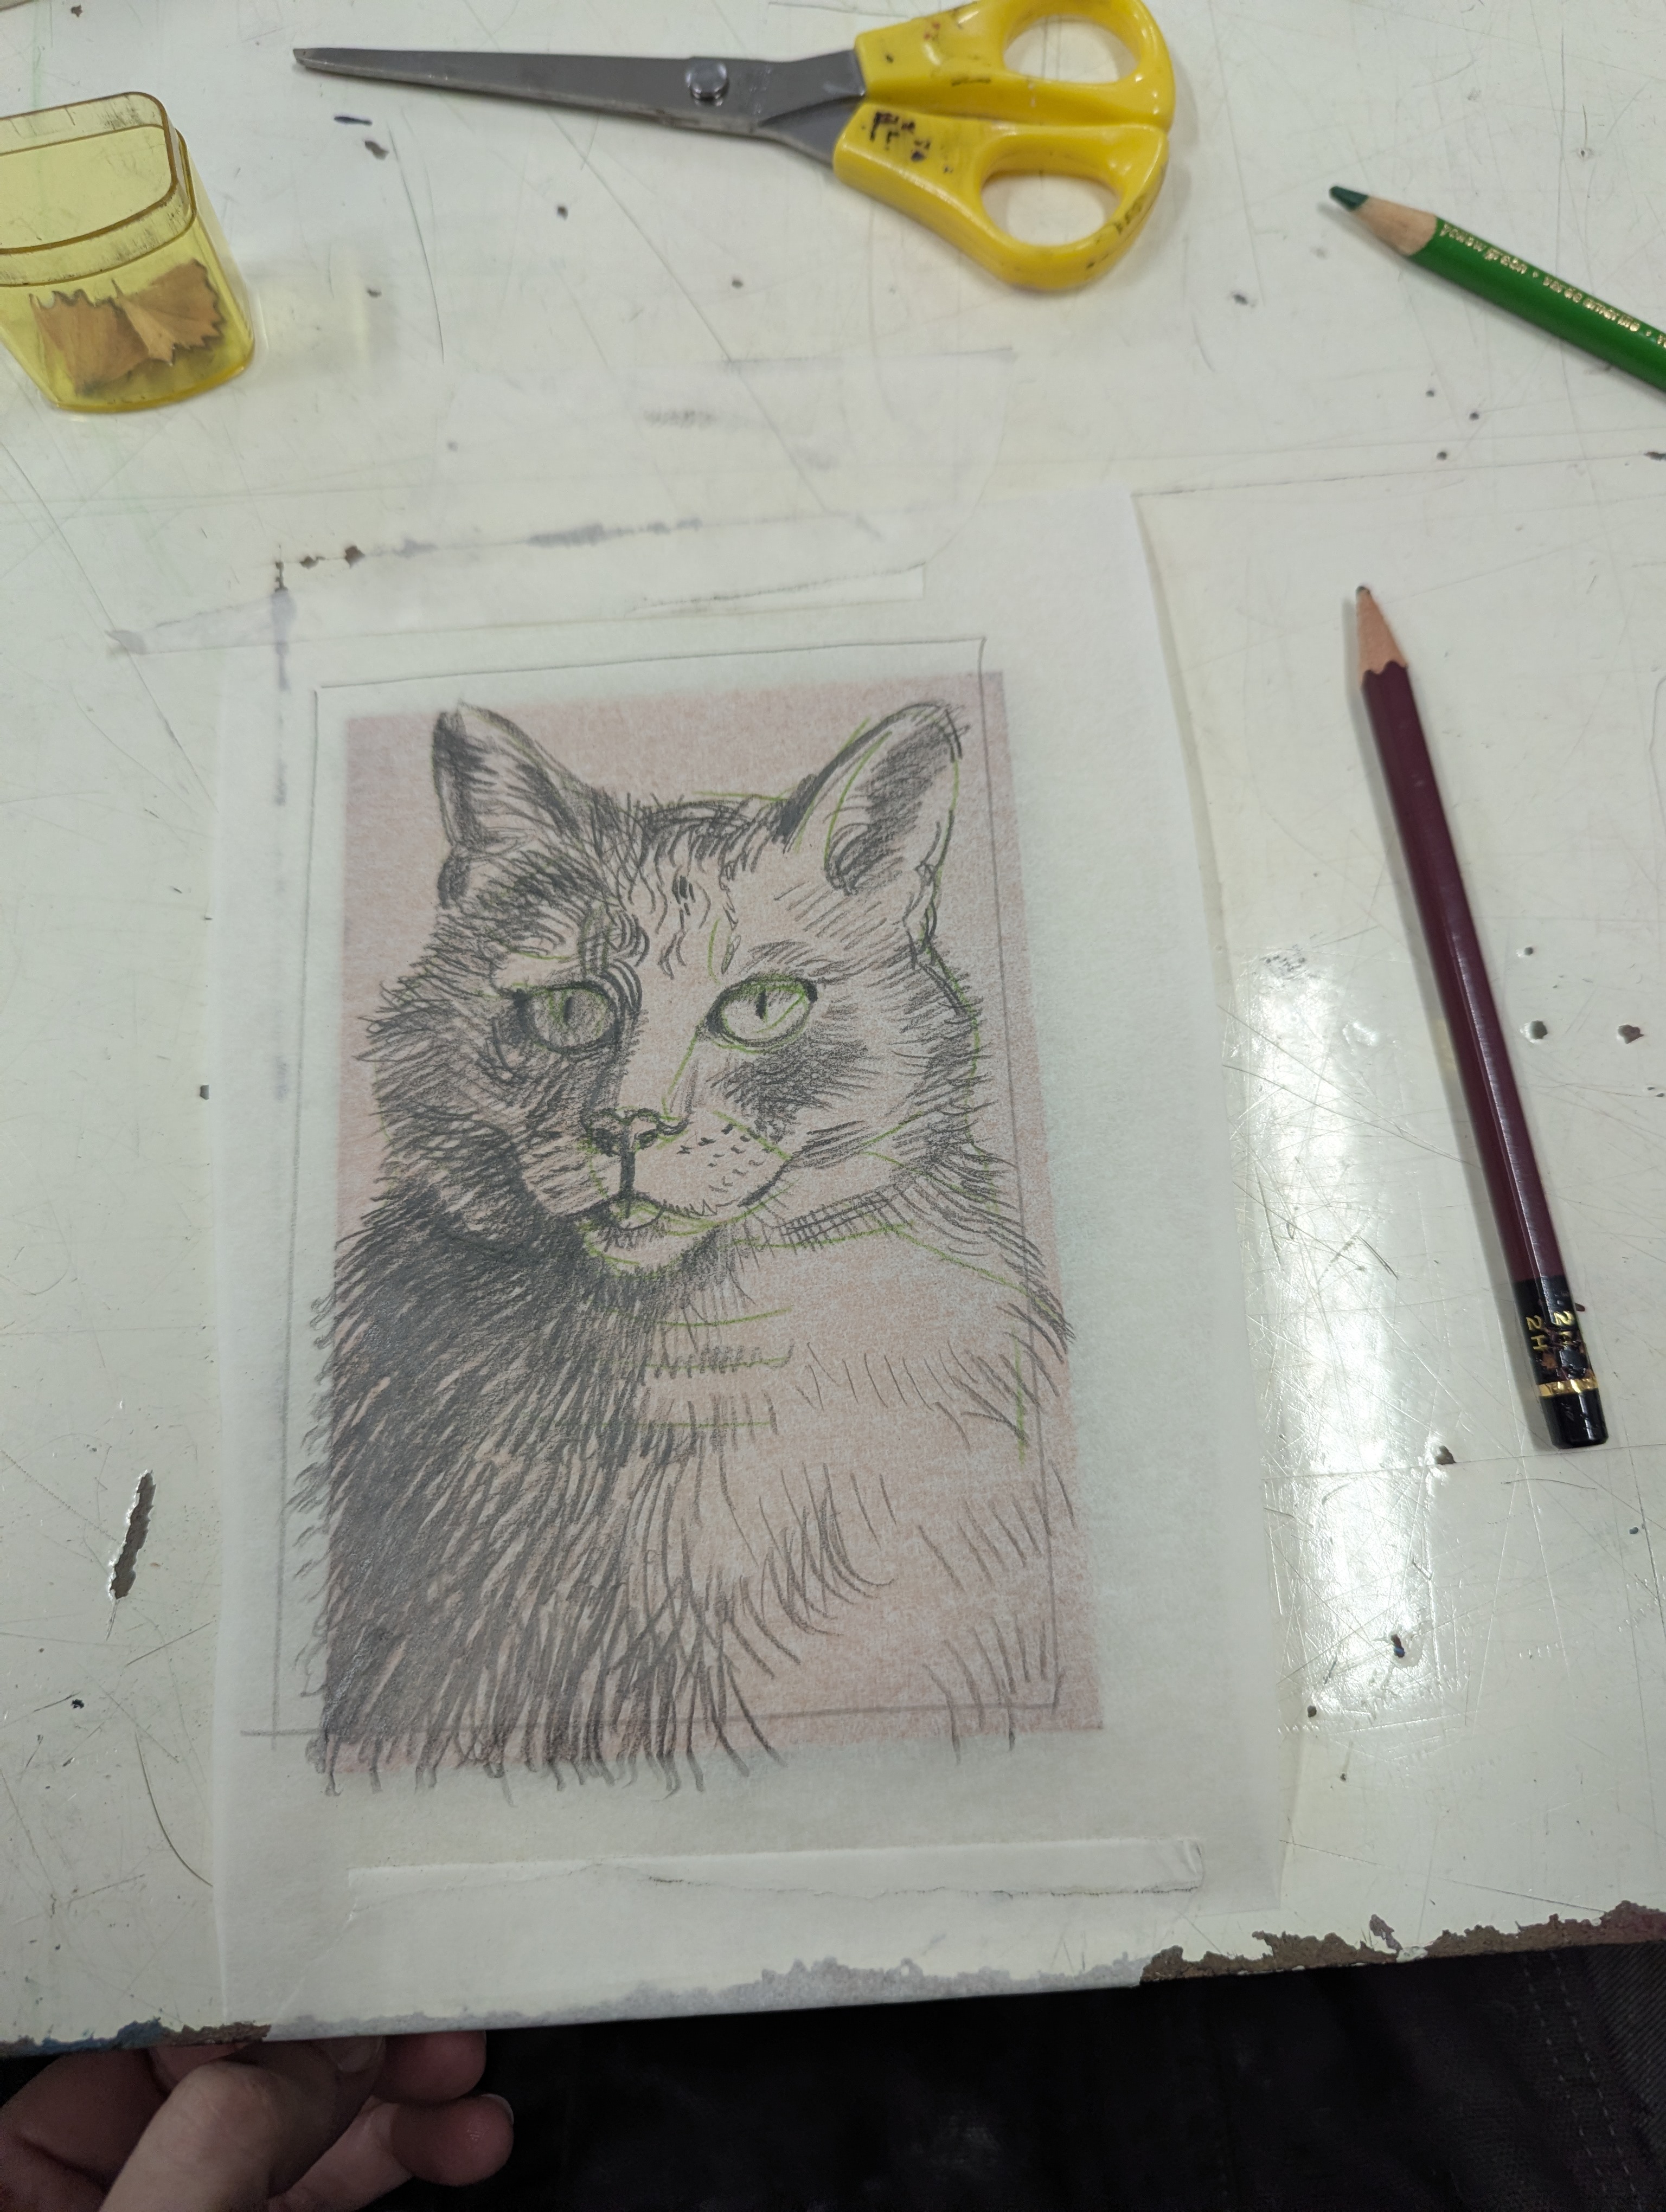
In this demo I’m using softground and drawing onto it with a pencil and tracing paper. I sketched my design onto tracing paper first with colored pencil, and then I taped my plate down and taped the traced image over it. I used a hard pencil (3H or harder is best, but if you bear down with a regular pencil it’ll work) to draw onto the etching plate itself. Remember, the idea here is that wherever you push down you’re lifting the ground off of the plate to reveal the copper. If you touch the plate at this point you’ll also remove the ground, so be careful to handle it delicately unless you want impromptu marks.
If you’re going this route, you’ll want to do your drawing in one sitting. If it’s a long drawing you can tape everything down onto a sheet of mat board or wood or something to keep it all stable until you’re finished the multiple sessions with your drawing.
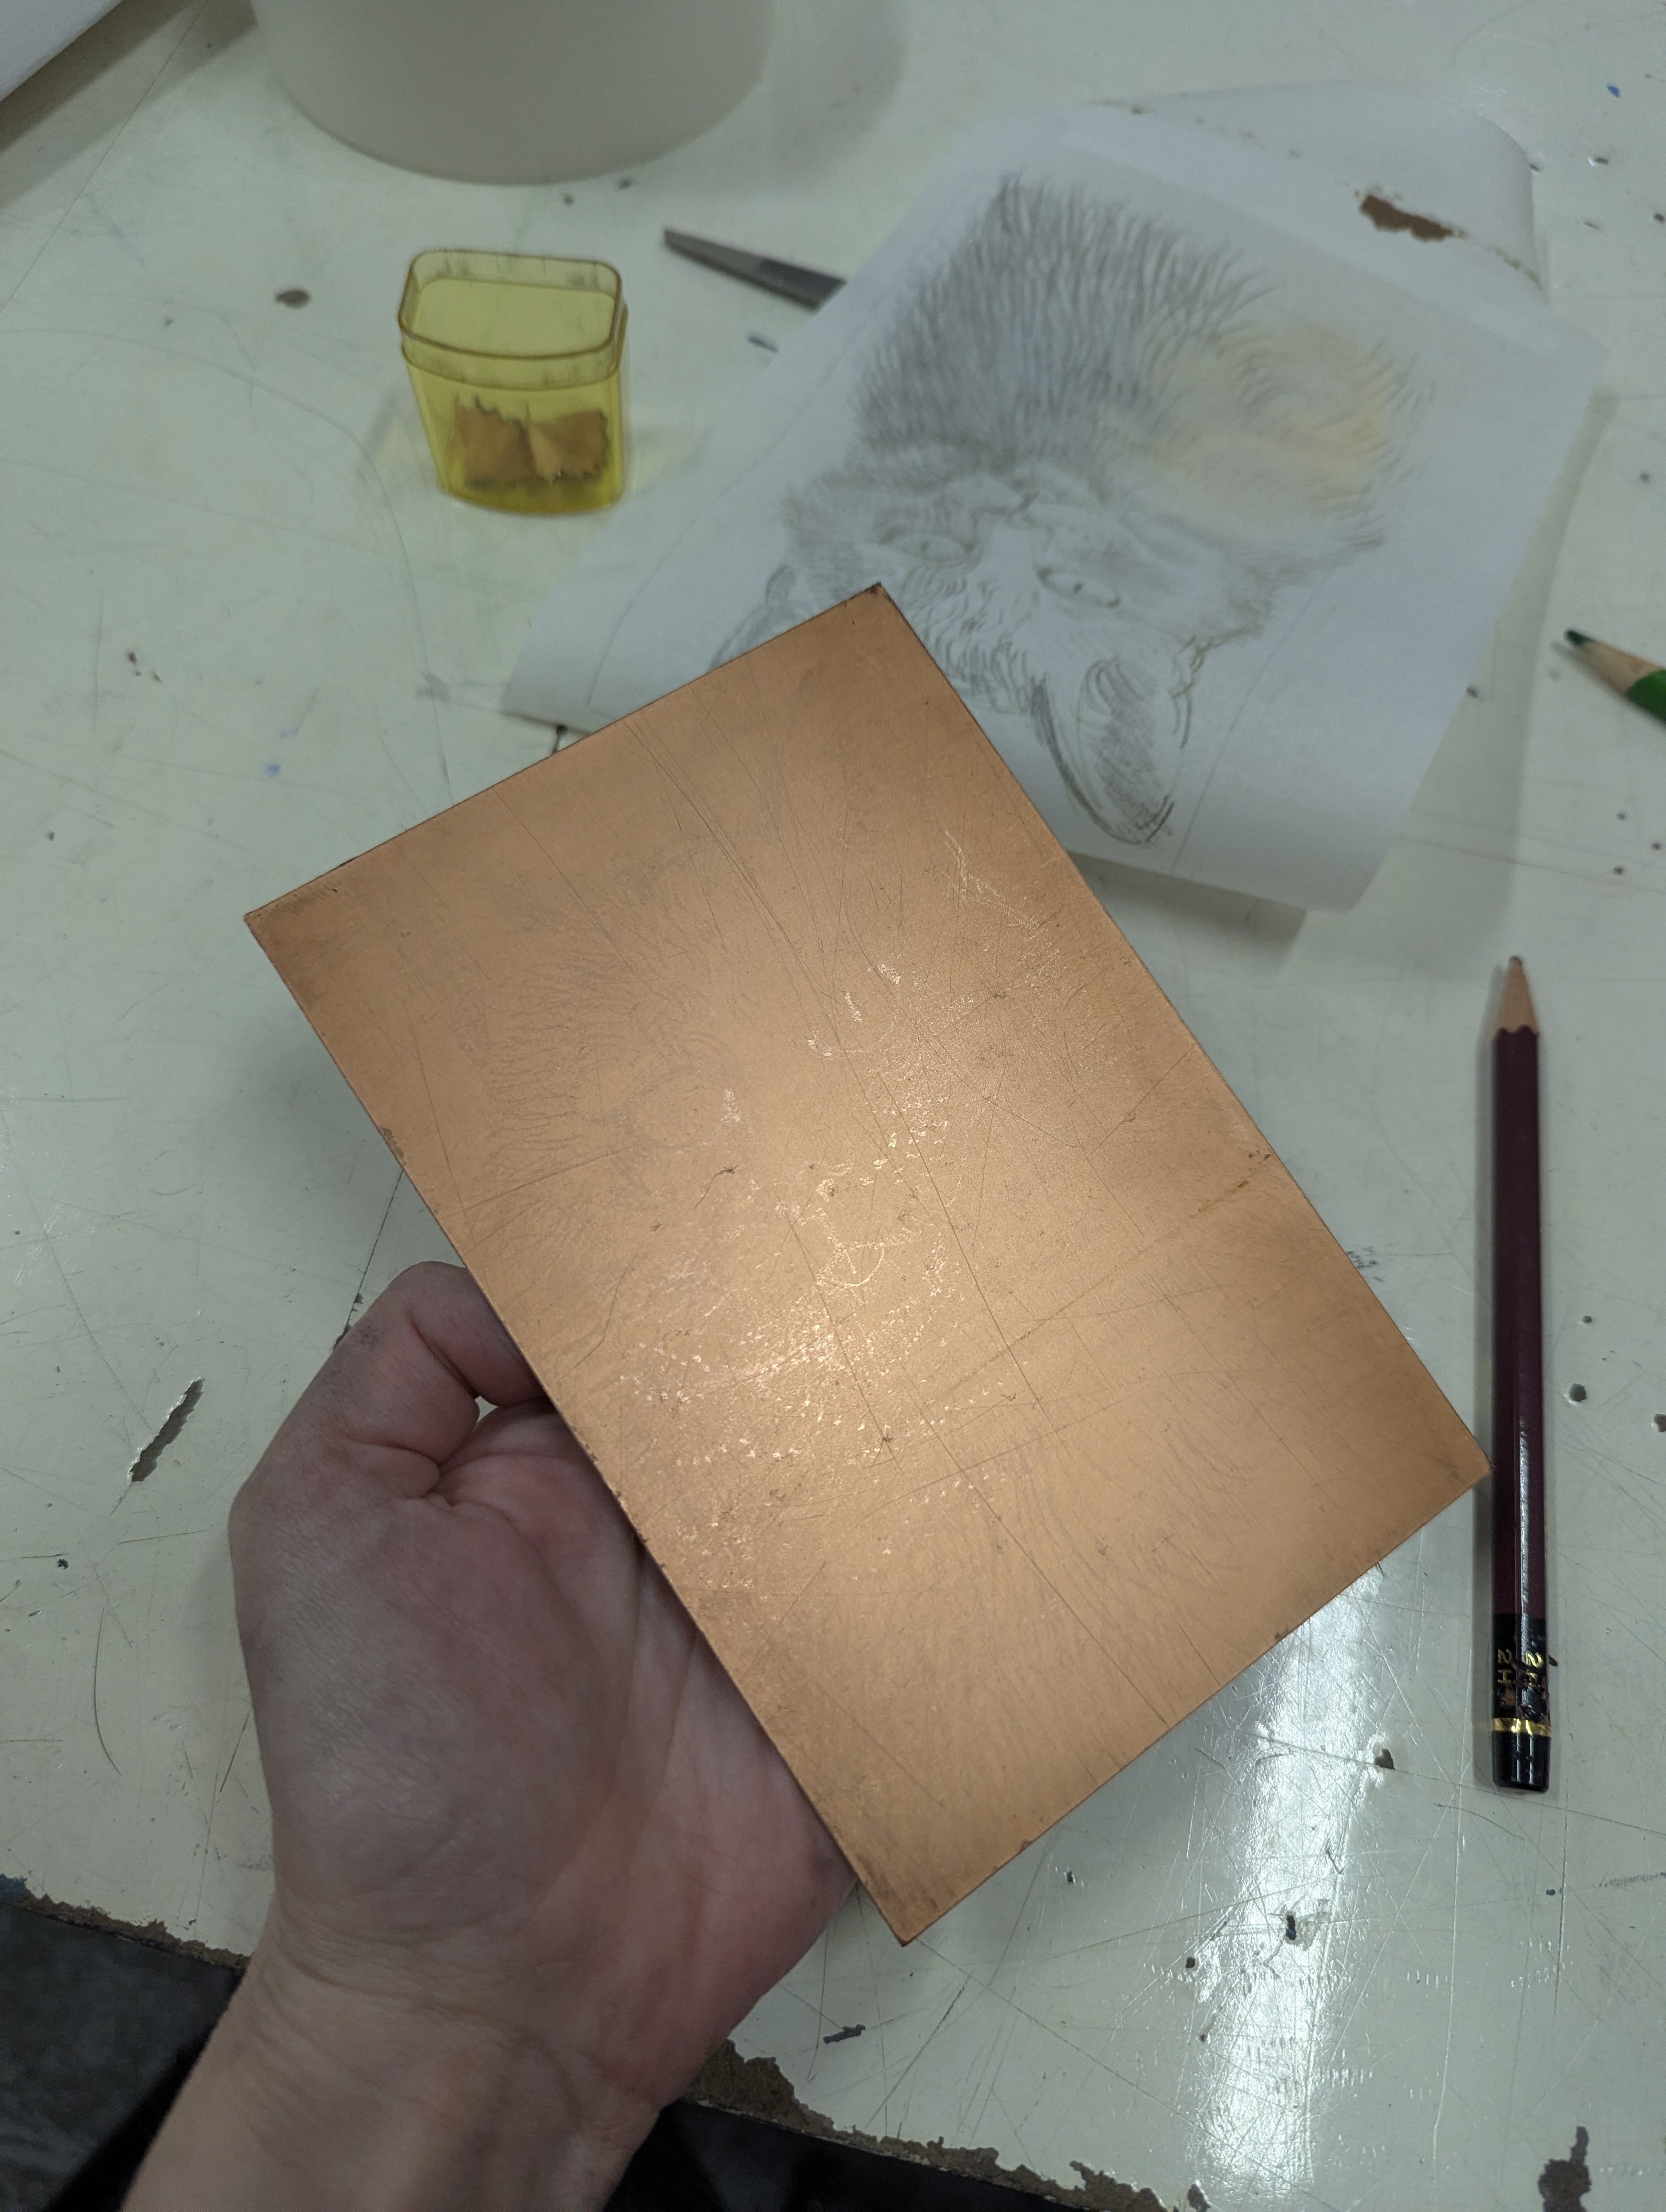
In the summer/warmth, your softground can melt so this is all best done in 75 degrees maximum. When your drawing is done, carefully lift the paper away and when tilted in the light you should be able to see copper where your drawing is. Whatever is copper colored is what will be etched/dark. The picture below is really bad but my phone camera sucks and you get the idea, in real life you could see the whole cat drawing et.c.